MOM LIFE MANUAL
  • Home
  • CELEBRATIONS
  • Easy Street
  • Traveling Mom
  • Health & Development
  • Eats
Picture
Picture
Picture
Picture

BEAUTY: MICROBLADING FOR MOMS

6/26/2017

1 Comment

 
Picture
MICROBLADING FOR MOMS
​

I’ve said this on multiple occasions that mothers have limited time to pull themselves together. I even had beauty expert, pageant title holder, and mom Shakeira E-Banks provide MomLifeManual.com with a 10-minute Mommy Face (view below posts). I’m kicking it up a notch and on my quest to locate ways to expedite the time it takes me to get ready in the morning I came across microblading. 

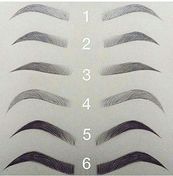
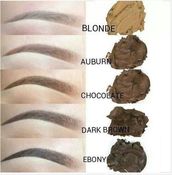
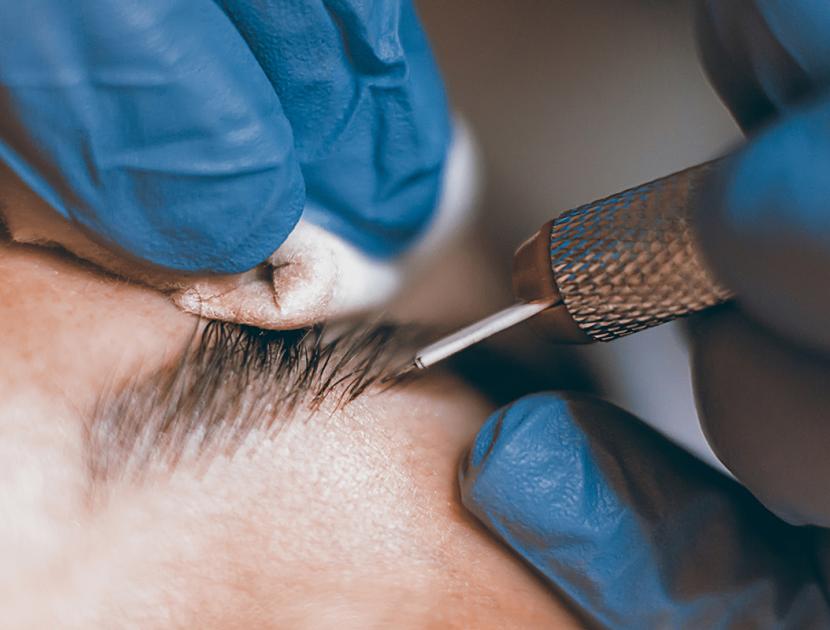
I know some of you are saying. “What is microblading?” Microblading is a practice where an artist uses a tattooing like method to draw hair strokes mimicking the natural shapes of individual’s eyebrows. You can go swimming, rub your eyes, and microblading is a smudge proof solution to keeping your eyebrows on point. This means no more money or more importantly, time spent drawing in eyebrows. You could literally, “woke up like this” and go. ​​
  • Consult
  • Procedure
  • Results
  • Cost
<
>

Type

Picture
​​There are variations in Microblading. Individuals can elect to have the simple hand Microblading or an Ombre Powder Brow. Hand Microblading is more of a natural result of strokes, whereas Ombre Powder Brows provide a more makeup filled look using shading.

Shape

Picture
​The next step is determining the shape of your semi-permanent eyebrows. I included a chart of standard eyebrow shapes. If you trust your Microblanding Artist, you can request a coutured shape based upon your natural eyebrows.

Color

Picture
Finally, you will need to select the perfect color. Just like tattoo ink, there are several colors you can choose from. Keep in mind that black fades to blue, so ask your specialist to recommend the best shade for you.  
  1. Your artist should start by measuring your eyebrows. The measurements are to ensure a symmetrical shape. Through measurement, your stylist can determine deficiencies and develop a better outline.
  2. An outline is then created using a wax pencil. The outline is used as a guideline for your Microblanding Artist. Your artist will confirm with you to certify that you like the shape. The outline will give you a glimpse into what your result will look like. 
  3. ​Little incisions are made, and anaesthetization cream is applied. I will say that this was the most uncomfortable part of the process. My eyes watered followed by some sneezing. I was glad my Microblanding Artist took the time to properly numb the area to provide comfort through this hour-long process. 
  4. Strokes are then made with the specialized tools, ink is applied, and made to set for 10 minutes. After 10 minutes, excess ink is wiped off, more incisions are made, and the process is repeated until the desired look is achieved. My session took about an hour.  
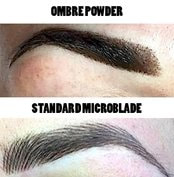
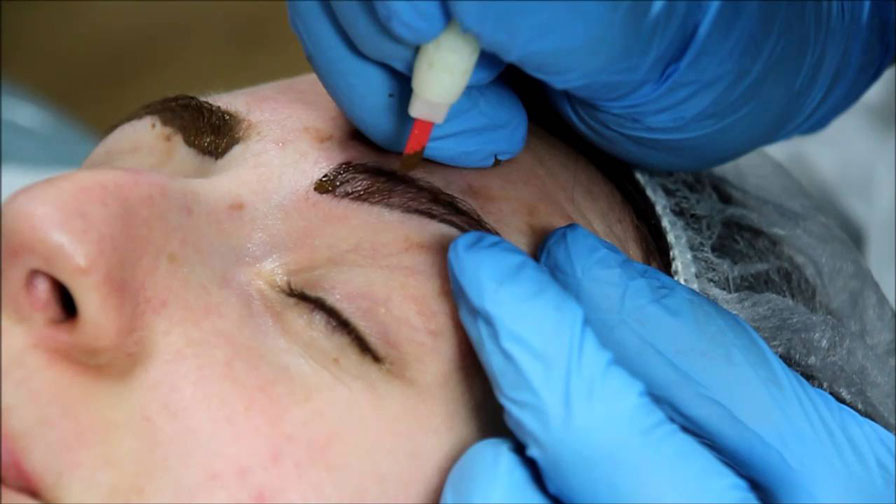
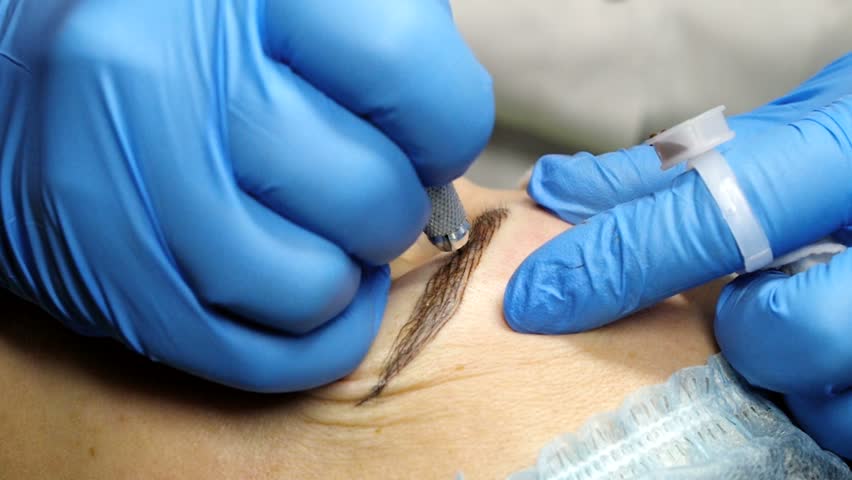
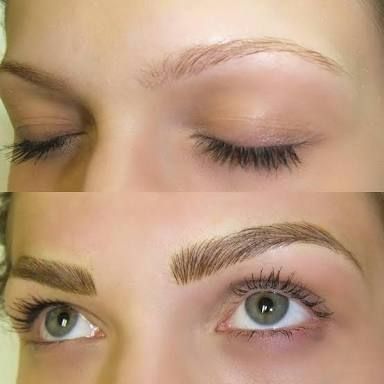
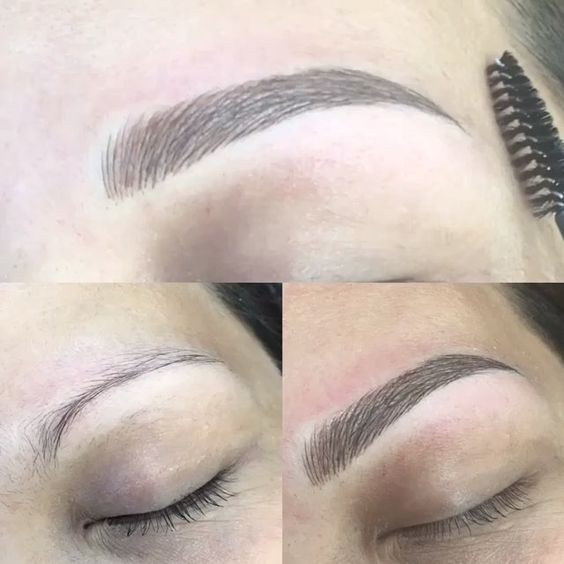
Below are typical results from Microblading if done correctly. Notice the outcome is natural and healing is similar to getting tattooed. There is no recovery time but expect not to get your freshly microbladed eyebrows wet for approximately 7 days. Itching does occur and a little discomfort, but in my book, this procedure was well worth it!

Please remember a touchup is required approximately 3 months after your 1st session. 
Cost: $50 Deposit, $400 1st session, and $150 for the touch up. Grand total: $600 not including her well deserved tips!
1 Comment

MOMAGRAPHER

6/12/2017

1 Comment

 
Picture
MOMAGRAPHER

On the Celebration section of MomLifeManual.com, I had an opportunity to interview a photographer to learn how to enhance photo taking abilities. I ended up purchasing a fancy camera because what I learned on this fabulous motherhood journey is, I still really like to take pictures.
I love that images can remind us of special events and can take us right right back to those feelings. I love seeing the growth and the milestones I've been able to capture. I share a lot of images of my family on social media, so I figured I should invest in myself and my interests leading me to this post. 
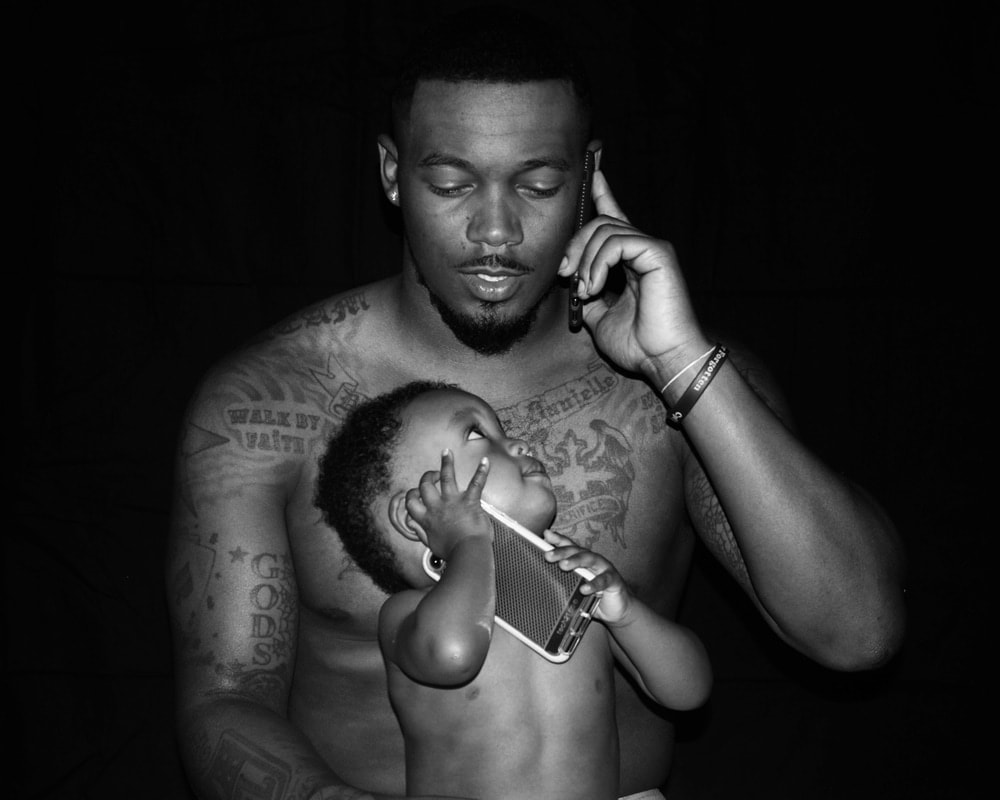
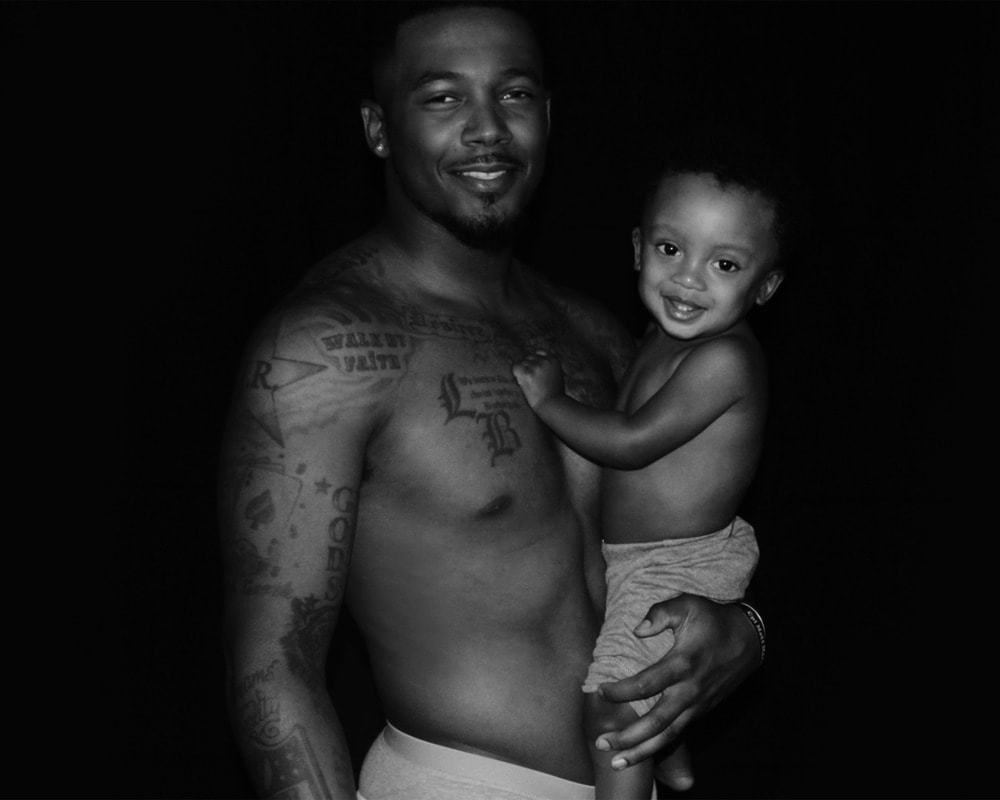
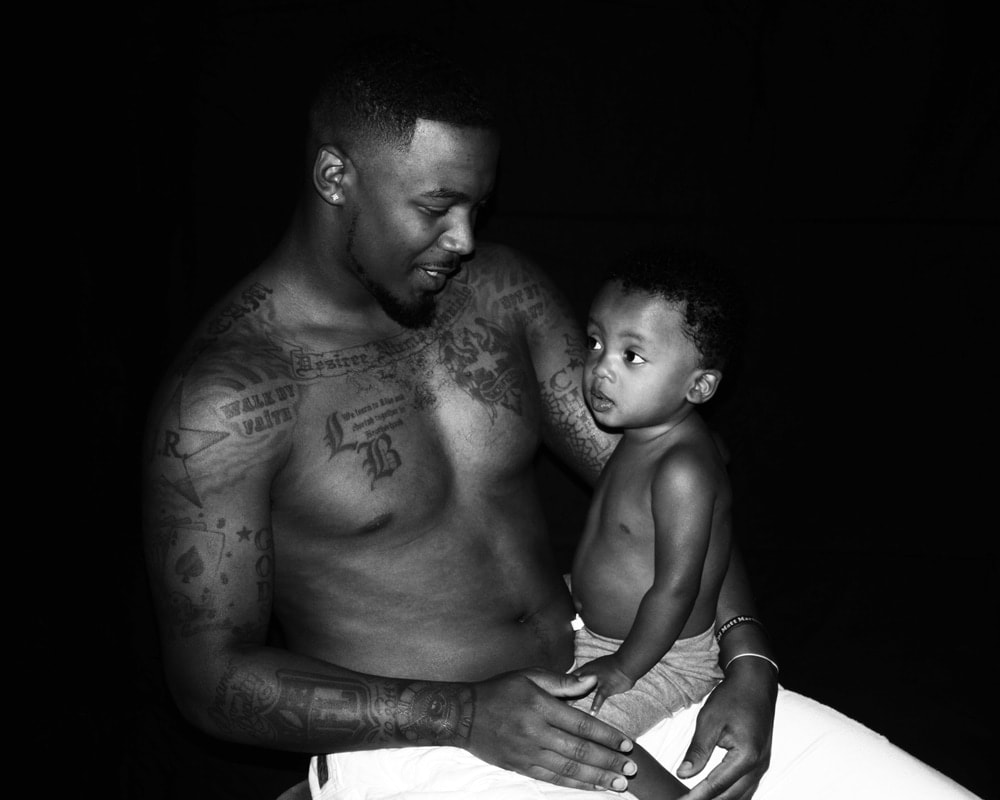
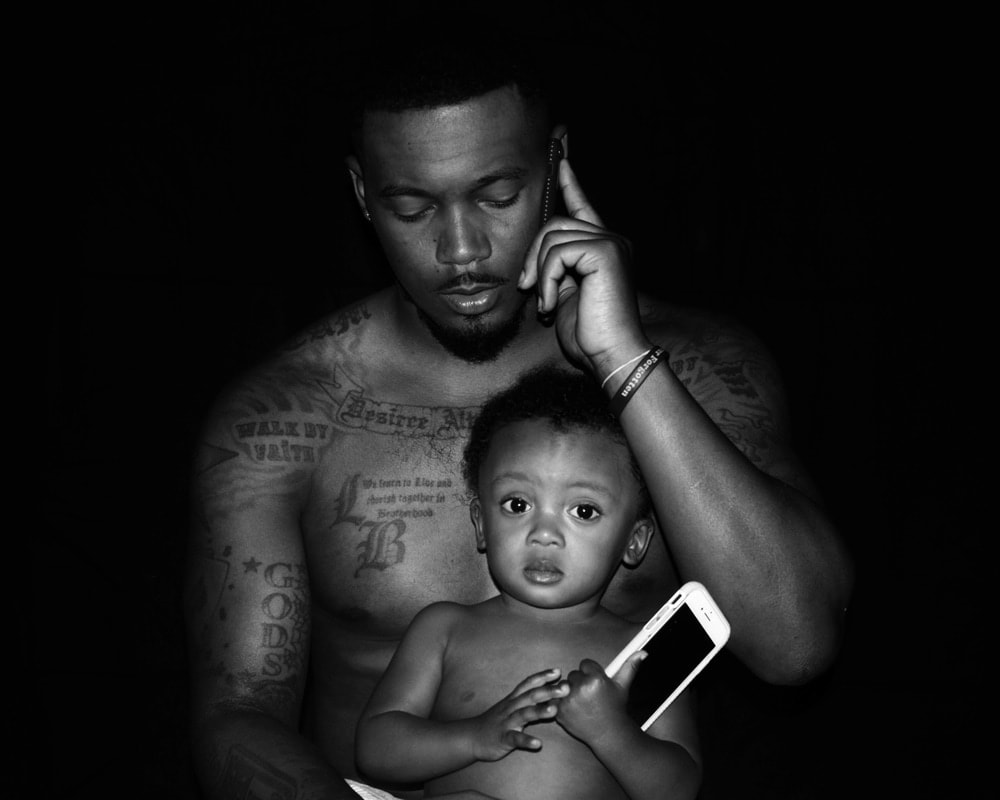
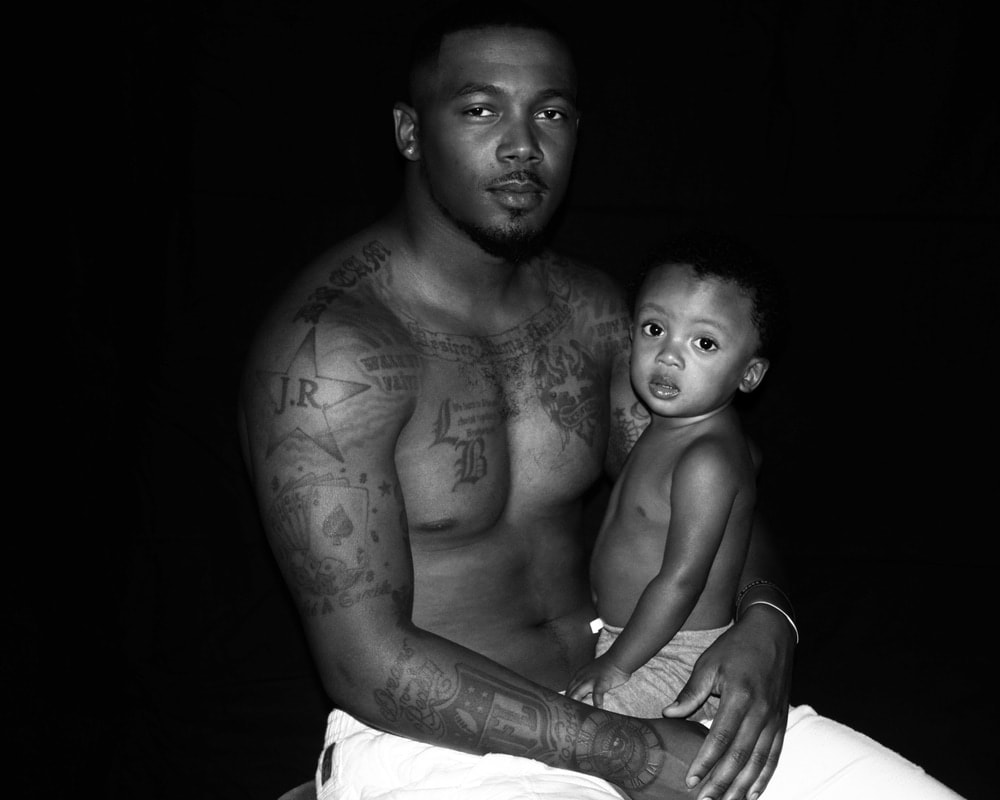
I used my new camera and followed these main tips:

  • Autofocus is your friend. The inner artist in me wanted to use manual focus, but autofocus gave me better results especially when using the continuous shooting feature. 
  • Use the display viewfinder preview. Great determination of how your shots will come out. 
  • Have a toy handy that makes your little one laugh! My son is a habitual photo mean mugger. The only way to get a pleasant smile from my son is by making Big Bird dance.

The provided tips were handy, and the proof is in the pudding! On a low key Sunday, I got my camera out and proceeded to snap these dope images of my favorite male models.
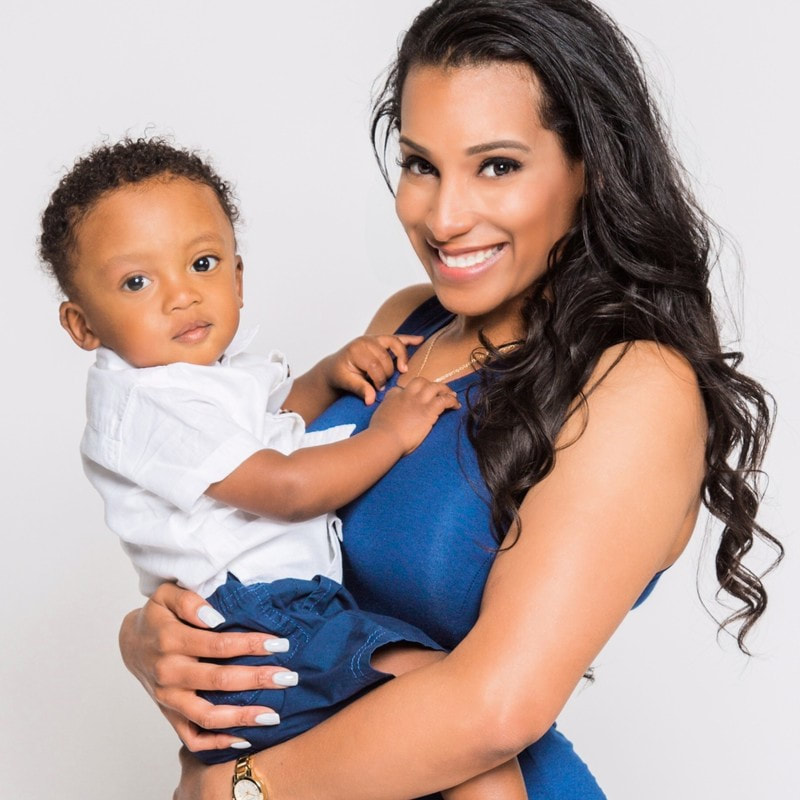
1 Comment
    Picture
    Picture

    Juanita C. Clare

    Just a new mother to amazing children learning things as we grow. 

    Picture
    Picture
    **FREE PERFUME FROM ME TO YOU**

    Archives

    March 2020
    February 2020
    November 2019
    September 2017
    August 2017
    June 2017
    May 2017
    March 2017
    January 2017

    Categories

    All
    BEAUTY
    FREEBIES & COUPONS
    PHOTOGRAPHY
    SURVIVAL

    RSS Feed

    Picture

Location

Contact Us

Are you a Mom with an extensive knowledge of Momolgy? Do you have additional questions? Would you like to make a comment on one of our tips or help with content? Feel free to contact MomLife Manual at the below methods. We look forward to hearing from you!
STORE AND WEBSITE POLICIES

    Subscribe Today!

Submit
  • Home
  • CELEBRATIONS
  • Easy Street
  • Traveling Mom
  • Health & Development
  • Eats